
 Click here to see all of our Software Training Courses
For many years we’ve been told that the paperless office is coming and to some extent, it has reached us in the form of better communication methods such as email, video conferencing and instant messages.
Many businesses still do it the old fashioned way and I would be willing to bet that every reader that works in an office (or even on a builder’s yard) will still receive holiday cards in the New Year. It’s an ideal opportunity of course to congratulate your clients on another year, cement relationships and show your appreciation for their ongoing business.
This may indeed be good for business, but it’s not very good for the environment and as the world becomes steadily more aware to the effects of waste and deforestation, it pays to ensure that your company is lowering its carbon footprint.
So why not cut out the expensive design and print costs and learn how to easily create business new year ecards with Photoshop?
This not only shows that you’re an ethical company that’s interested in conservation, but increases a sense of trust in customers. Awareness is now at a stage where B2B and B2C customers actively seek out conservation-aware companies and will choose them over a less ethical business.
With that in mind, let’s take a look at how you can make up your own ecards this year to send to your appreciative clients
Let’s Start with Size
Your ecard will be optimized for web, and therefore when opening a blank document in Photoshop the width size must be set to between 400 – 600 pixels width and 250 – 600 pixels height.
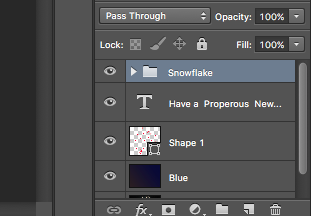
Layering
When designing an ecard layer everything, the background, text, shapes, brushes, and blocks of colour should all be separate layers. This gives you the mobility to arrange layers on the document and allows you to delete or change the opacity of separate items.
You can also use grouping to keep everything tidy and refer back to with ease.
Brush Presets
Brush presets is a nifty little tool and not hard to use as one may think.
Simply select the image you wish to choose for the brush using the selection tool/magic wand at the top left on the tool palette, (look at the example of the snowflake I have drawn) click edit – define brush preset.
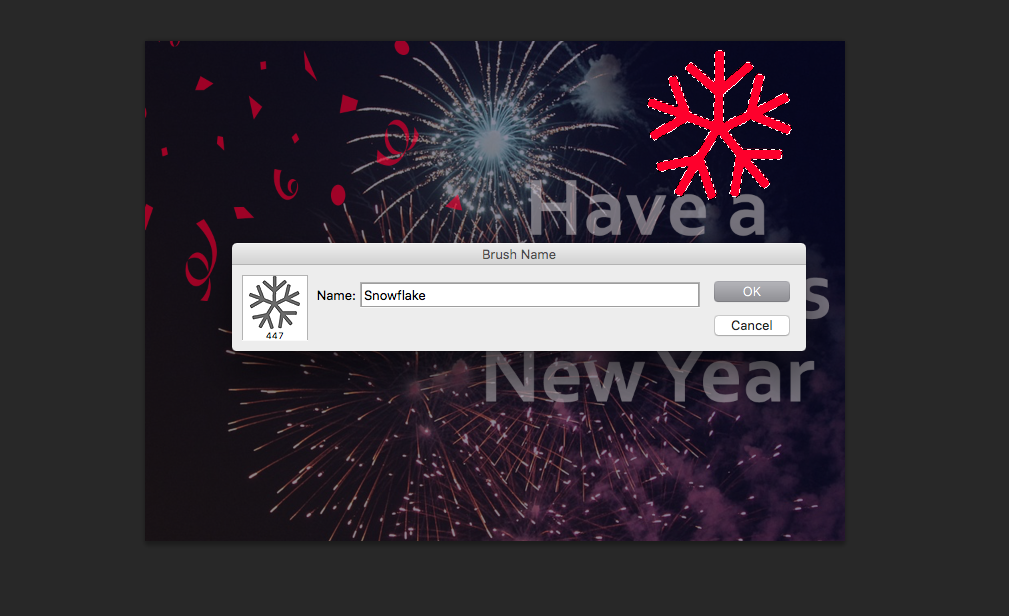
Choose the name for the brush you have created; it will now appear in your brush menu on the right hand side of the screen where there is also a symbol named brush presets.
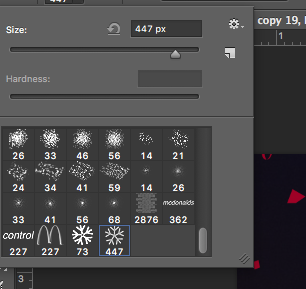
When clicked, this will give a variety of options such as textures, scattering, shaping, smoothing etc.
This is where creativity can really start to flow.
Experimenting with this tool will help give your ecard that edge. Don’t be afraid to make mistakes, that’s all part of the process and can result in some fun effects!
Gradient Tool, Images and Shapes
If illustration is not a strong point, no need to worry, there is another option. There are some great sites offering free to use images such as Pixabay, simply click here to browse the wide array of free to use images, vectors, illustrations and more.
Many of the design community sites also give away freebies when it comes to vector and image packs so see what a quick Google pulls up.
A blank document can sometimes appear daunting, but instead think of it as your playground for creativity.
The gradient tool is a good aid and can help get you started. Select the tool and drag the arrow across the blank page, the box at the top of the document displays the colours you’re working with, I usually use foreground to background, these colours can be modified using the swatch tool.
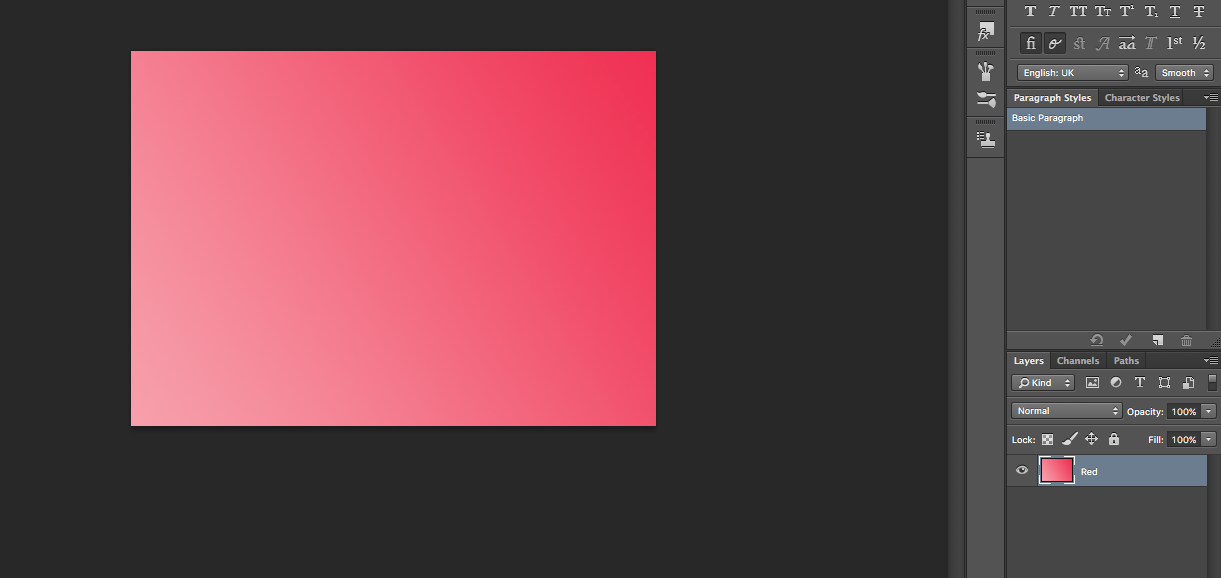
Double click the background layer to make it active and change the name in the task box that appears.
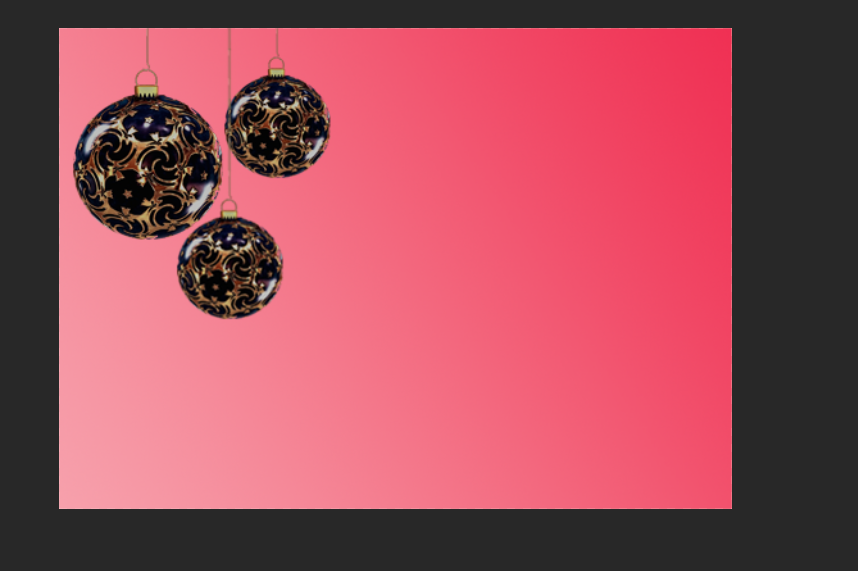
Adding an Image
Next, choose your image. If you prefer your ecard to be completely personal, you can hand draw your own illustrations and scan them in as JPEG’s and insert them into the document. If however, drawing is not your forte, refer back to the link above and choose an image from there.
When opening the image from the file option, this will open it up in a separate window. From here, using tools such as the background eraser can help rid any unnecessary colour behind the image.
If you find it’s a bit heavy and erases some elements of the image simply hold down the alt key and draw it back in.
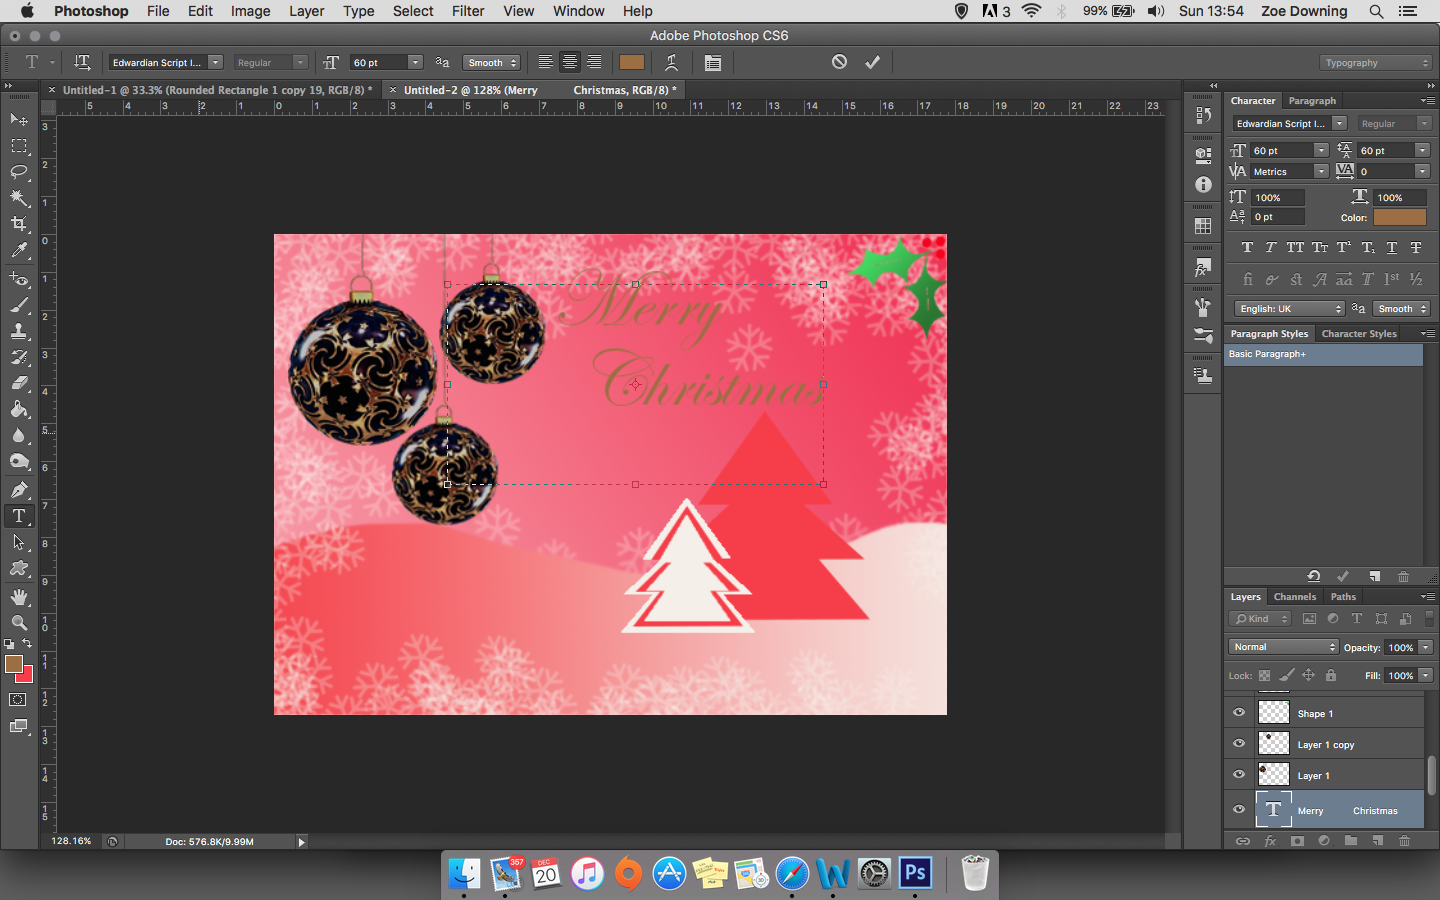
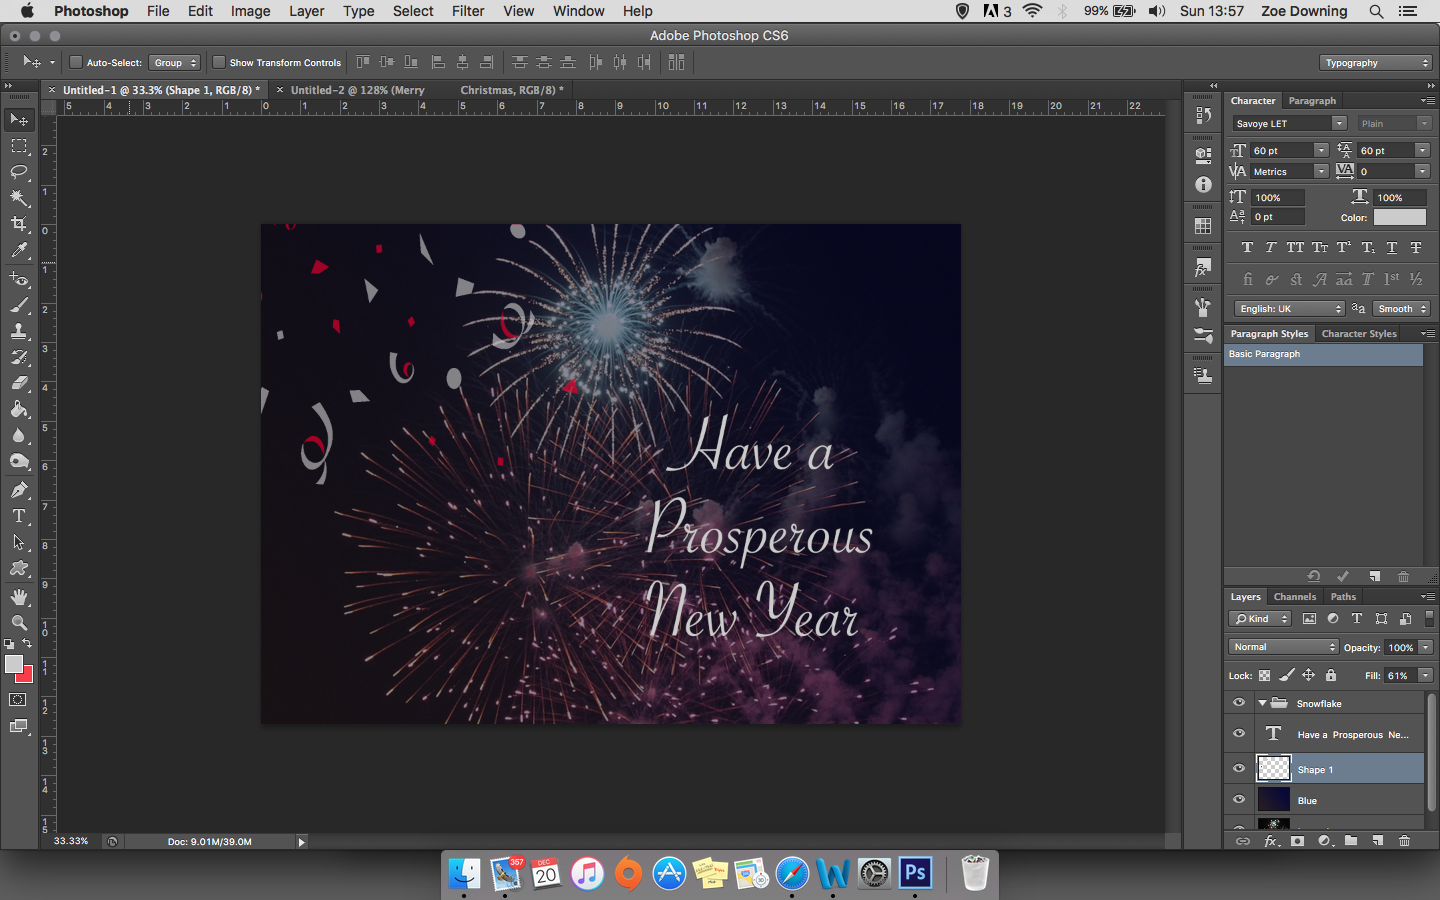
You can also crop the image to the desired shape. Using the Move Tool or, by tapping V on the keyboard, grab the image and drag onto the ecard template. In the image above I duplicated the layer by Pressing Command J (option J if using Windows) on the keyboard. You can also manually drag the image layer to the symbol on the layer palette to duplicate. Pressing Command T (Option T) will bring up the transform tool around the image therefore enabling resizing and rotation.
Photoshop also has a Custom Shapes Tool.
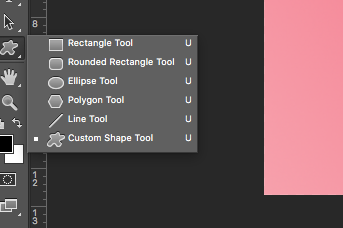
Click on this and select the box at the top of the window
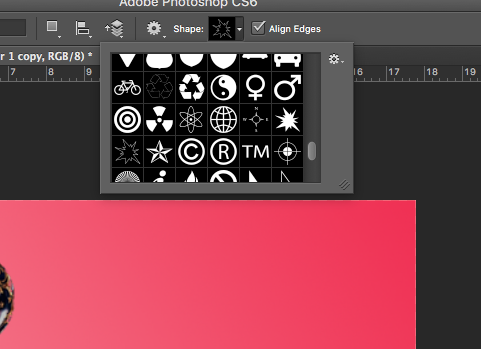
The cog symbol on the right hand side of the box displays various types of shapes; for this example I have them all shown. From here choose a shape you want to incorporate in your design.
Further along the left hand side you have a Fill box, this is where you choose your colour for the shape you wish to use.
Add Some Text
Locate back to the tool palette and select the T symbol. Create a box for the text. Using the text colour box and font drop down menu at the top of the window choose the desired colour and font.
Saving and Completing
Flatten your image by right clicking on the first layer and choose Flatten Image.
File – Save as – JPEG. Select file quality 5 for web output.
And finally, the most important thing you need to remember.
Experiment.
Research colour swatches and themes, move, delete, arrange, paint, draw, transform and learn through a lot of trial and error.
Your clients and the environment will appreciate the extra effort to reduce paper whilst still remembering to wish everyone the best for the coming year. You can even personalise the cards by adding images of the office – putting faces of the team on baubles and much more.
Looking to improve your PhotoShop skills and save your company money in design costs for those smaller jobs? Why not get in touch?
We have courses and workshops for all skill levels – call us on 01332 986924 to discuss how we can help your business cut costs whilst adding to your skills bank.
One thought on “How to Create Business New Year Ecards with Photoshop”