How to draw a stunning vector iPhone in Adobe Illustrator
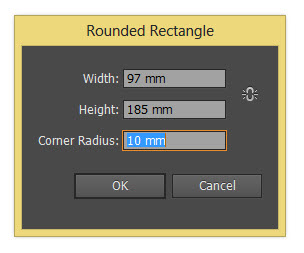
Select the rounded rectangle tool in the Adobe Illustrator toolbar, click once in the middle of your Adobe Illustrator Artboard, you should see the window above. Set the width as 97mm and the height as 185mm and the corner radius to 10mm
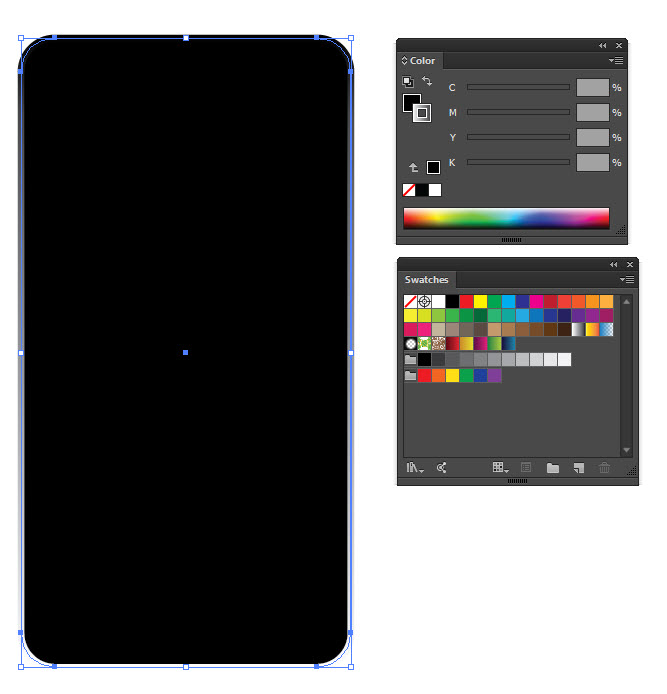
For the rounded rectangle set the fill colour to black and the stroke to 2mm and choose the gradient swatch that goes from black to white, all panels can be found in Adobe Illustrator under Window>Swatches and Window>Colour

Choose your ellipse tool from the Adobe Illustrator tool bar
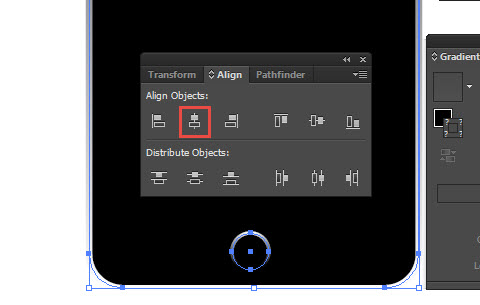
Draw a small circle (holding down shift) at the bottom of your large rectangle and use the Adobe Illustrator alignment panel (Window>Align) to centre both the large rounded rectangle and the circle together.
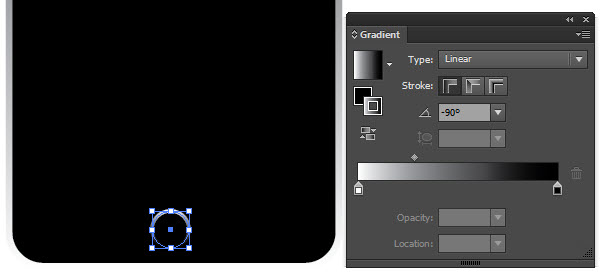
Open the Adobe Illustrator Gradient panel (Window>Gradient) and set the stroke of the circle to the black to white gradient and 2mm, set the gradient angle to -90.
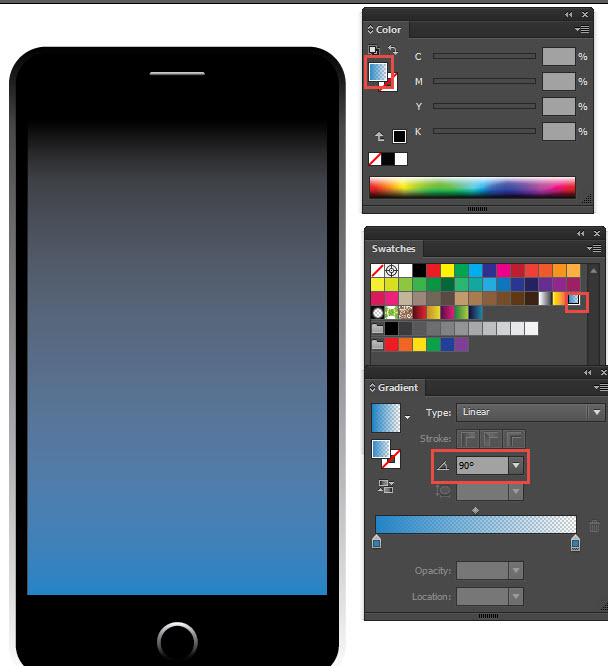
Choose the rectangle tool from the Adobe Illustrator toolbar, click and drag to draw a large rectangle for your screen. Use the illustrator alignment panel to centre it with the rest of the shapes. Coose nothing for the sroke colour and within the Illustrator swatches panel choose the gradient that fades from blue to transparent.
Then use the Adobe Illustrator Gradient panel to set the gradient angle to 90.
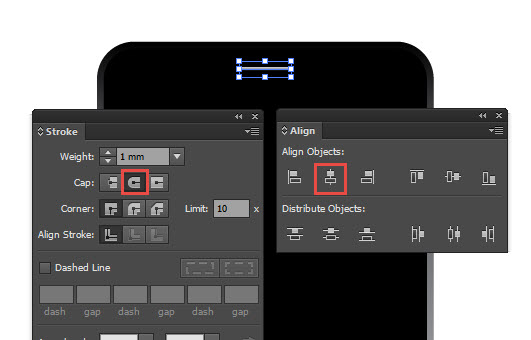
Next choose the Line tool from the Adobe Illustrator tool bar, draw a short line holding down the shift key for the ear piece. Then open the Illustrator Stroke panel (Window>stroke) and the Illustrator Alignment panel (Window>Align).
Choose the rounded stroke cap and align all the content to centre as previous.
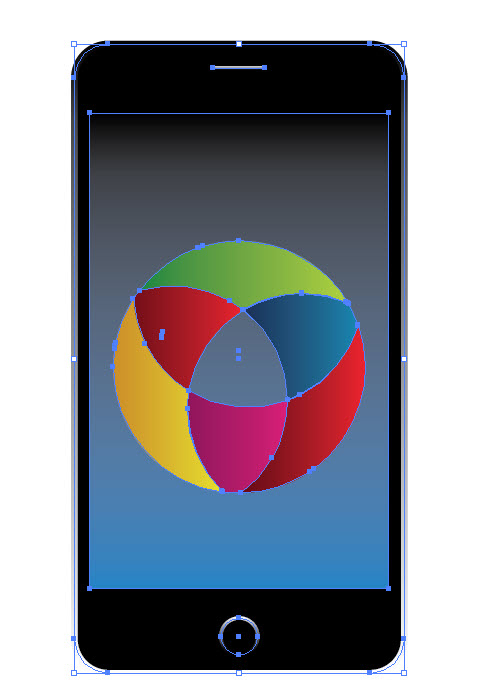
Open up the graphic that you would like to appear on the iPhone screen, then copy and paste it in to your document, use the Illustrator Alignment panel to centre everything once more.

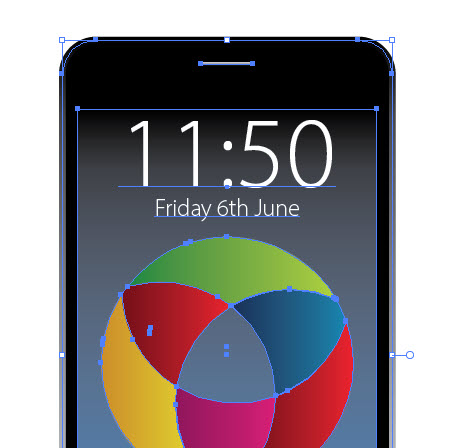
Choose the type tool from the Adobe Illustrator Tool bar, click on your phone and type the time and date on two lines. you can use the control bar at the top of the screen to adjust the type size and font.
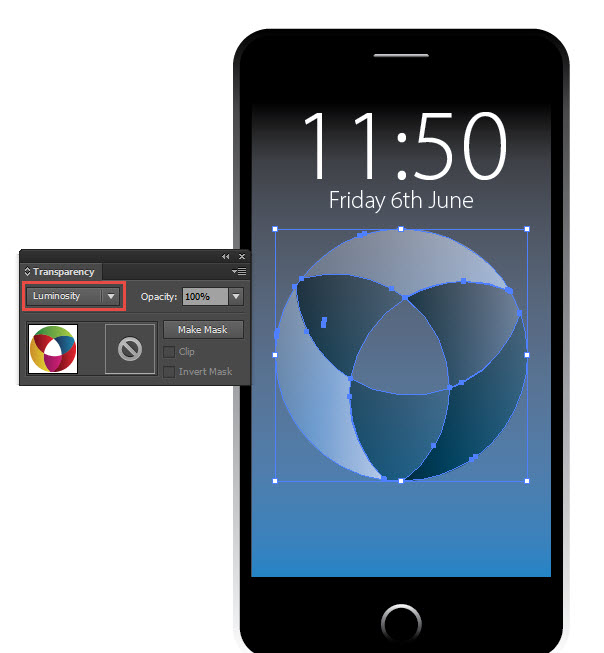
Now we are going to open the Adobe Illustrator Transparency panel (Window>Transparency) and select our logo graphic. Change the overlay to ‘Luminosity’ to help the logo become part of the screen.
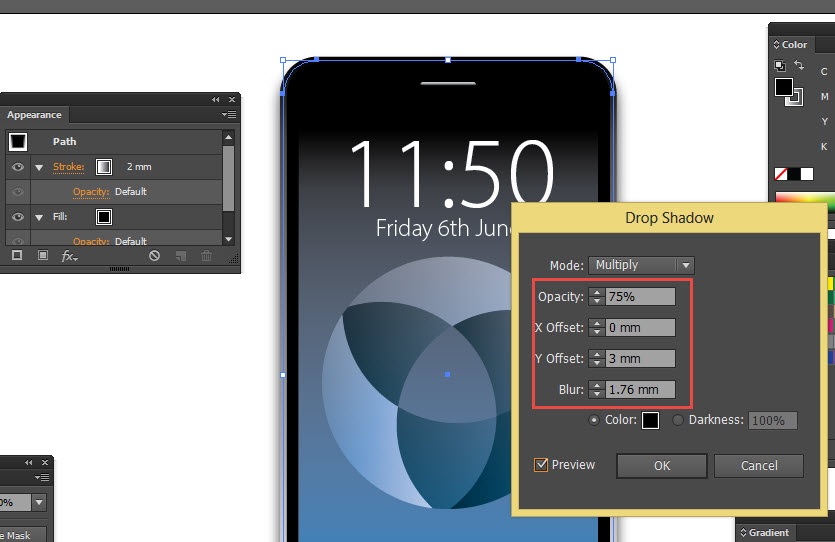
Now open the Adobe Illustrator Apearance Panel (Window>Appearance) select the large rectangle that makes up the body of the iPhone. Click on the smal ‘Fx’ button at the botom of the Appearance panel, choose Stylise>Drop Shadow and fill in the values as the picture above.
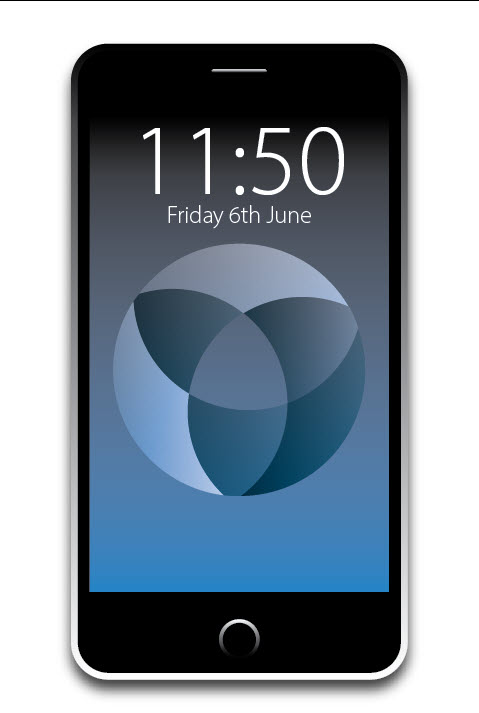
And here we have it a finished iPhone vector graphic that can be scaled as big or as small as you need for any application!
If you’d like to learn more about Adobe Illustrator, why not check out our Adobe Illustrator Training Course?
Even if you can’t make it to us in-person, you can take advantage of our Online Adobe Training Courses, currently on offer for less than half price, and all of which including lifetime access to all of our in-depth video tutorials.
Please browse our site – we know we’ve got the right package for you – and use our Contact Page to reach out.

 Click here to see all of our Software Training Courses
