Welcome to the world of Illustrator, filled with paths, shapes and other words you probably haven’t heard of unless you’re an Adobe familiar.
This blog demonstrates some of the basic tools in Illustrator for beginners.
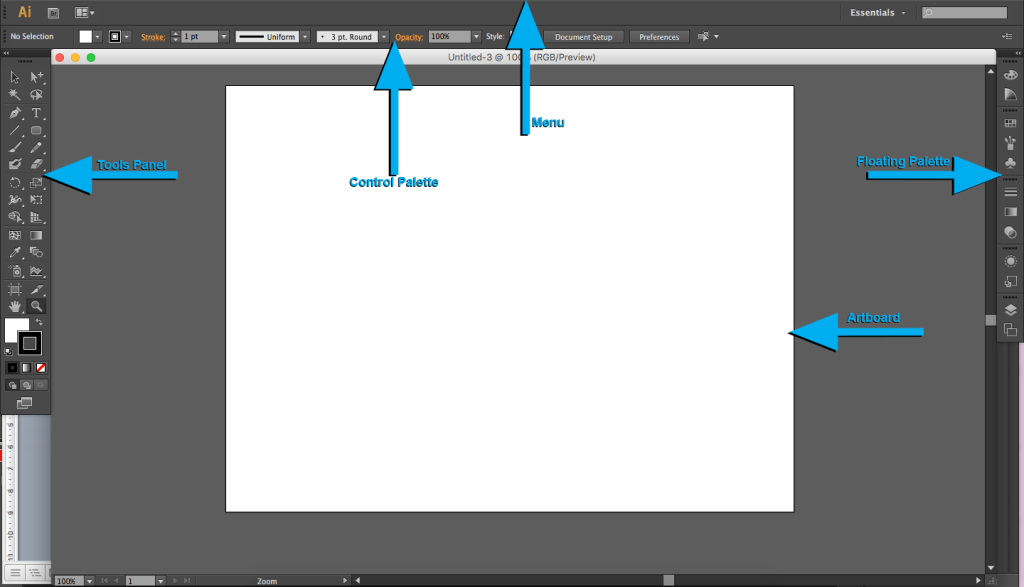
First glance at this program can be intimidating (as with most Adobe applications), however if you have already used other Adobe programs, you should be able to recognise a few things within the programs features such as the Tools Panel and Control Panel.
If you are serious about using Illustrator for your artwork, I would hugely recommend investing in a graphics tablet. This will make it much easier for those fractional gestures when drawing intricate shapes.
You can pick them up for a reasonable price, I use the Ugee M708 which is both responsive and easy to install with no problems. There are other options too such as the Wacom graphics tablet range, but have a look around and find the one right for you. I have added a link to the full list here.
Keep in mind, Illustrator is a large, involved program therefore it is important to spend time learning the various features the program has to offer. The following text explains some of the basic features to help you get started.
Navigating Your Way Around Illustrator
The annotation below displays the different sections of the window. Here you will find the various tools, swatches, panels and presets.
Getting to know the working area will aid your creative flow when working with Illustrator.
Artboards
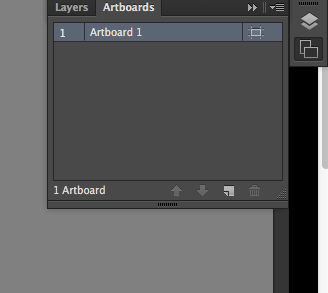
The next thing you need to know when starting out is the Artboards panel. This consists of the board on which you draw your art. To view the panel, simply click on the Artboard symbol located on the right hand side of the window.
The artboard panel allows you to view multiple pages in the same document. This comes in handy when creating multiple vector arts or perhaps even business cards and posters, enabling you to copy and paste logos for example.
You can also change the order of the artboards in the panel by either dragging and dropping or using the arrows located on the bottom of the panel.
Using the artboard tool located on the left hand side of the window, you can resize and rotate, move or delete.
To add an artboard simply click the new artboard symbol resembling a dog-eared page at the bottom of the panel.
You can view all your artboards on your canvas by zooming all the way out using the zoom tool (hotkey – Z) and by holding alt, notice the symbol inside the zoom symbol change to a minus sign when holding down the alt key. This method displays the canvas (the canvas being the dark grey area) your artboards are situated on. To focus on a specific artboard simply double click, Illustrator will focus in on the clicked artboard.
Shape Tools
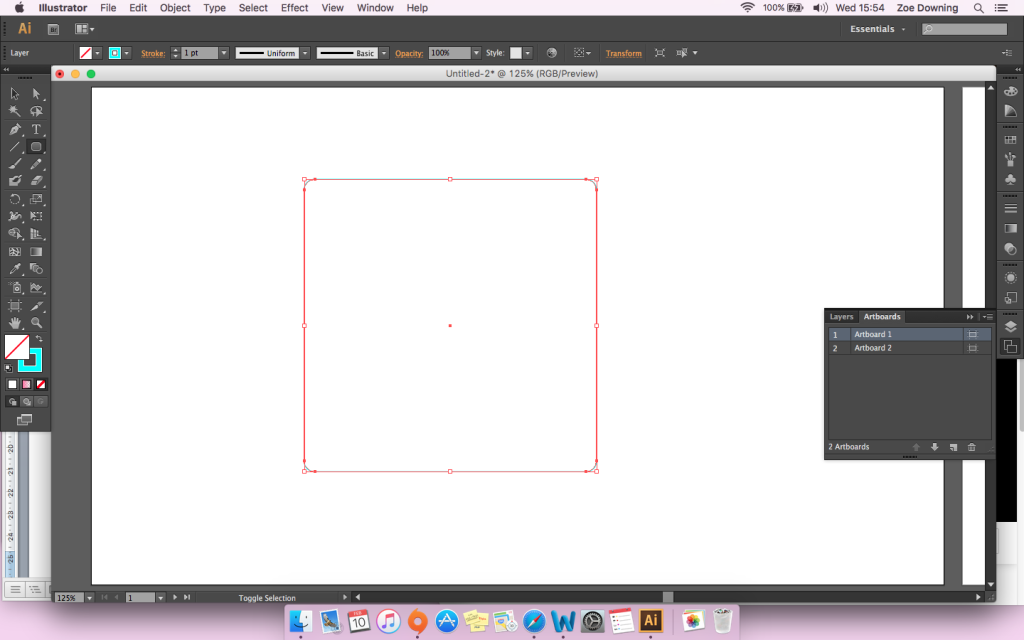
Much like Photoshop and InDesign, Illustrator has the prepared shape function. This is located on the Tools panel. Simply long click the shape tool to reveal the hidden shapes.
At the top of the window when the shape tool is selected, notice the various options consisting of stroke, fill, opacity etc. The stroke option creates a coloured line around the shape. Click this to make the swatch panel visible, you are then able to choose the stroke colour. To close the swatch simply hit the enter/return key.
Use the same method for the fill option.
By holding shift when drawing a shape, the proportions remain constrained. (Hotkey V for selection tool to adjust stroke colour and fill after shape is drawn).
Of course, you don’t have to have a stroke or even fill, simply select the symbol displaying a diagonal red line, this will set the colour to off.
Brushes
There are various options when it comes to the paintbrush tool, easily being one of the most important tools within Illustrator.
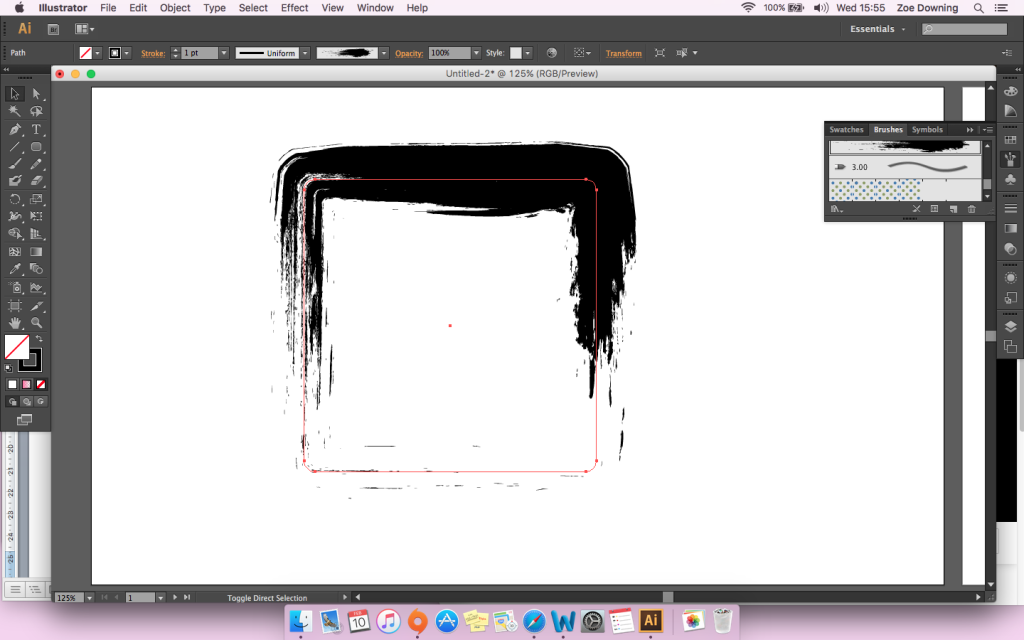
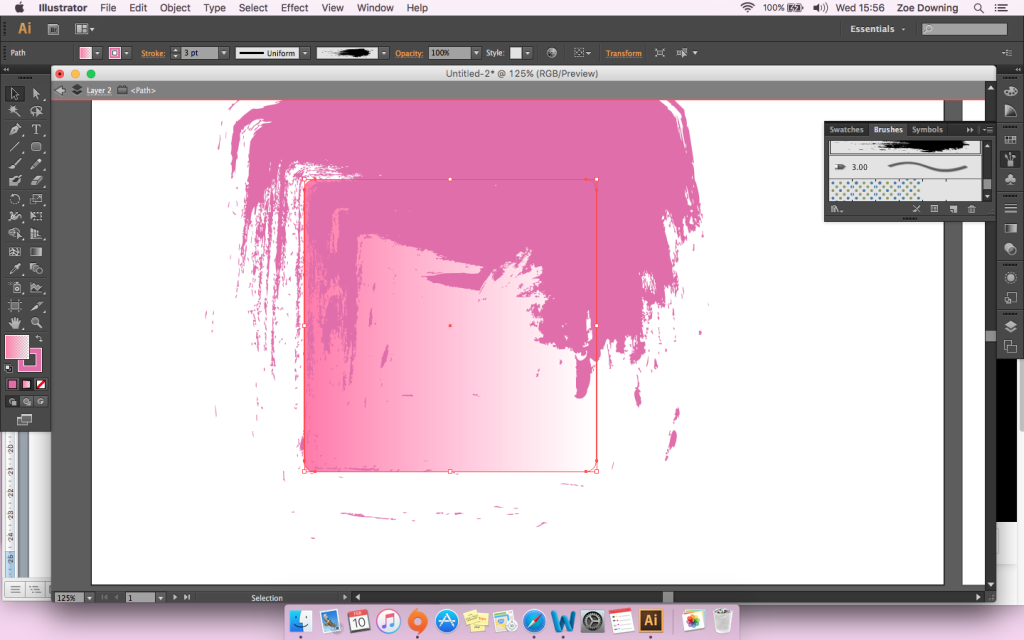
Create a shape referring back to the shape tool explained earlier. Next, click V and select the outine of the shape, on the right hand side of the window, select the brush symbol. This opens the brush presets (you can also navigate this menu by clicking Window – Brushes), choose a brush, notice how the stroke has now changed the particular brush you selected. This creates an authentic look to your shapes.
To view more options when using brushes, in the brush preset menu, select the small arrow at the bottom of the panel and click brush library. This displays various libraries for brushes. Experiment with these various brush styles.
As with shapes, you can change the colour of the stroke, opacity, width and size of the brush. These are located at the top of the window where the shape tools were displayed.
Alternatively, you can free draw using the paintbrush tool. When drawing a line and letting go of the mouse click (or moving the pen away from the nifty new tablet you bought), notice how Illustrator’s smoothing functionality applies to the brush stroke.
Finalising
Once your done, click the file button on the menu bar to either export your file or save how it is so you can go back to it later.
These are just a few of the tools to get you started. Illustrator as an array of functions, tools and effects. If I were to write about them all, you would find yourself reading a 10,000 word essay and would probably get quite bored.
Use these simple techniques to start your Illustrator career and experiment with the various tools it has to offer.
Stay up to date for more upcoming blogs on Adobe products.
Want to learn more about Adobe products and training? We offer courses for all skill levels in Photoshop, Illustrator and more. We hold regular workshops or we can come to you – if you’re really busy we can even offer you online training.
Get in touch today on 01332 986924 or drop us a mail at info@creativestudios.co.uk

 Click here to see all of our Software Training Courses
2 thoughts on “Adobe Illustrator for Beginners”