
 Click here to see all of our Software Training Courses
Content and imagery traditionally complement each other and are the catalysts for drawing in a reader, engaging and educating. Creating a header image in Photoshop requires creativity, experimentation and patience. I will show you some of the great ways you can create appealing, unique and interesting header images that will get people reading your content by using a few basic tools in order to create a header image in Photoshop.
Create a Header Image in Photoshop – Merging Images Together
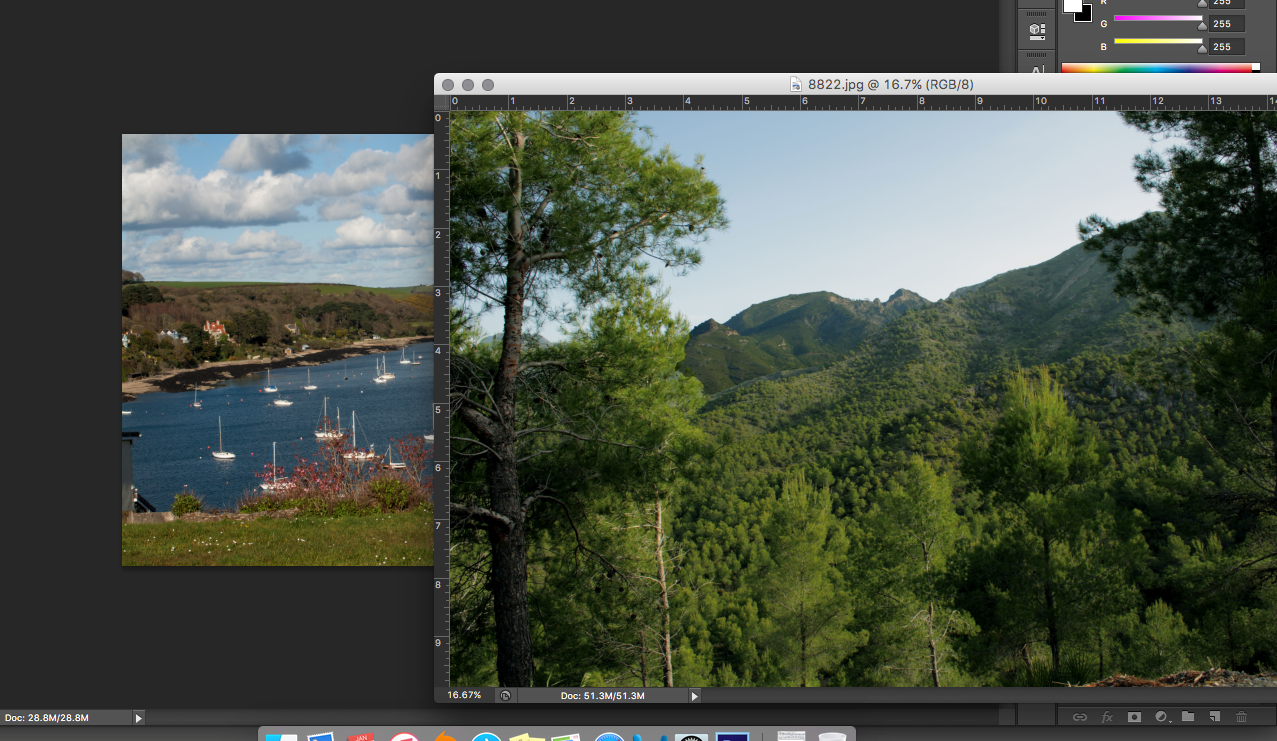
Seamlessly editing photographs in Photoshop is probably easier than you think. There are different ways of doing this. The first way shows how to merge images together – one on top of the other. To do this, open up a couple of images in Photoshop and choose the image you want as the first layer. Next, using the selection tool, grab the second photo you want to overlay the first, simply click and drag over to the first layer.

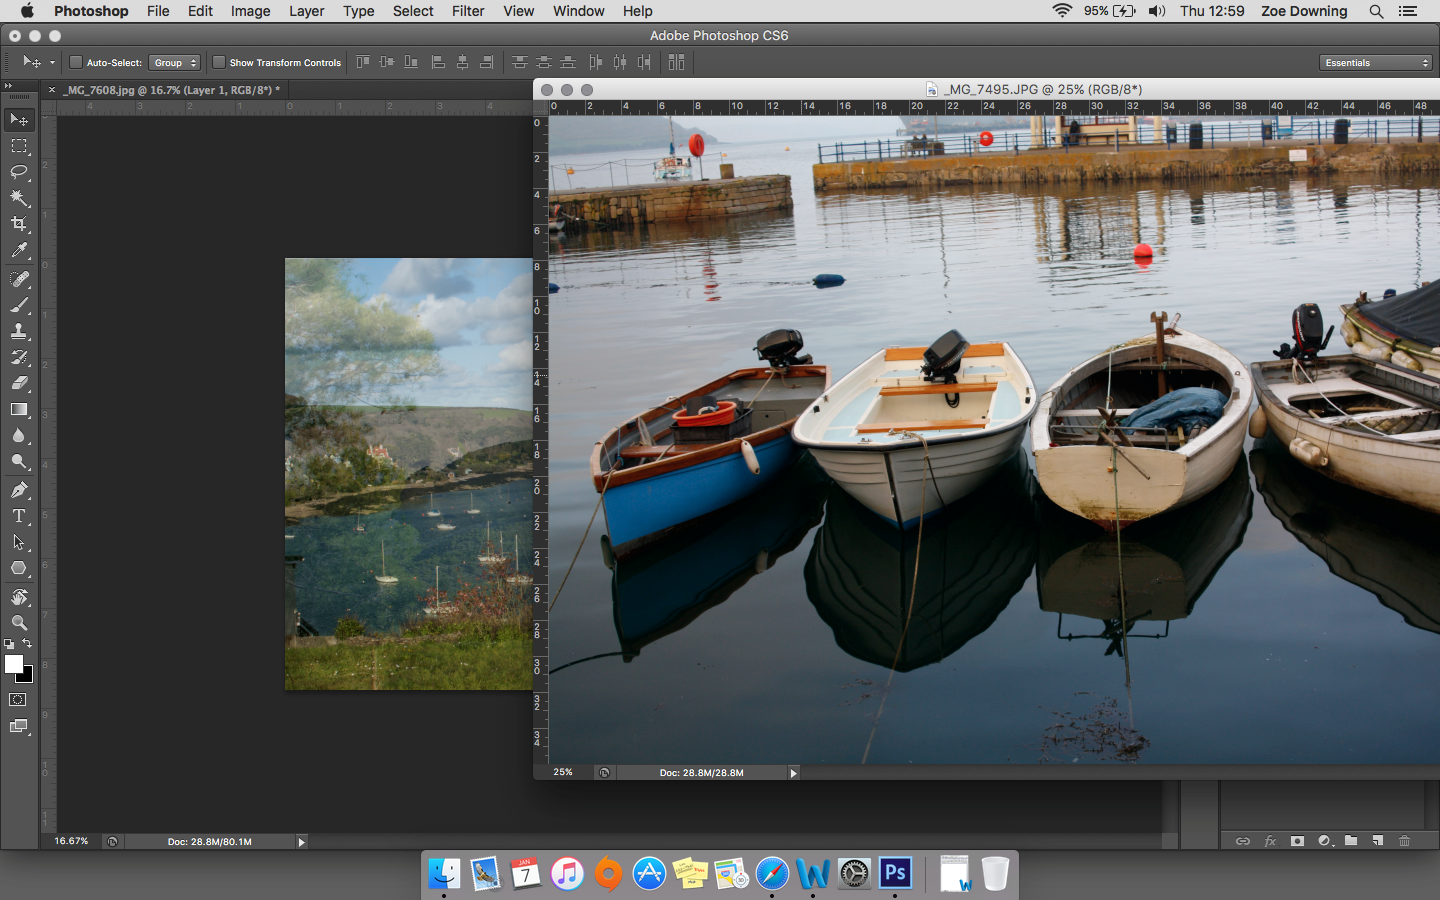
You should be able to see only the new layer you currently applied over the first layer.

Make sure you have the second layer selected.
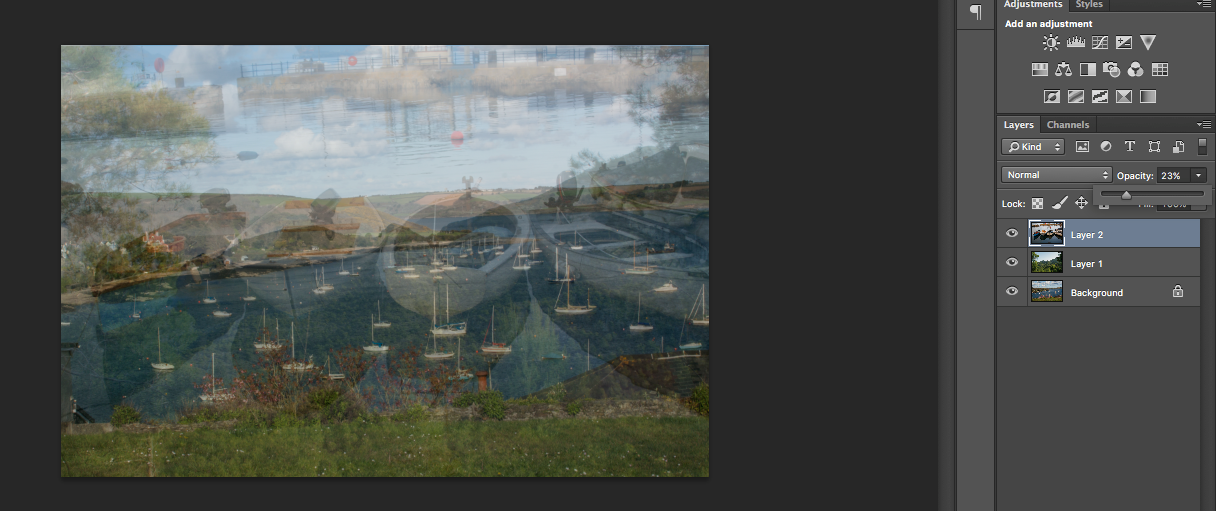
From the drop down menu in the layers tab, select overlay. In the Opacity menu, take it down to around 30%, however you can play with this and see what works best for you.
You should now see the first layer seeping through.

You can add as many images as you like using this step, it’s very easy and quick. Simply follow steps 1 and 2 again to add a third layer to your images.
The second technique requires using selection tools and merging images together, cut out from their original background.
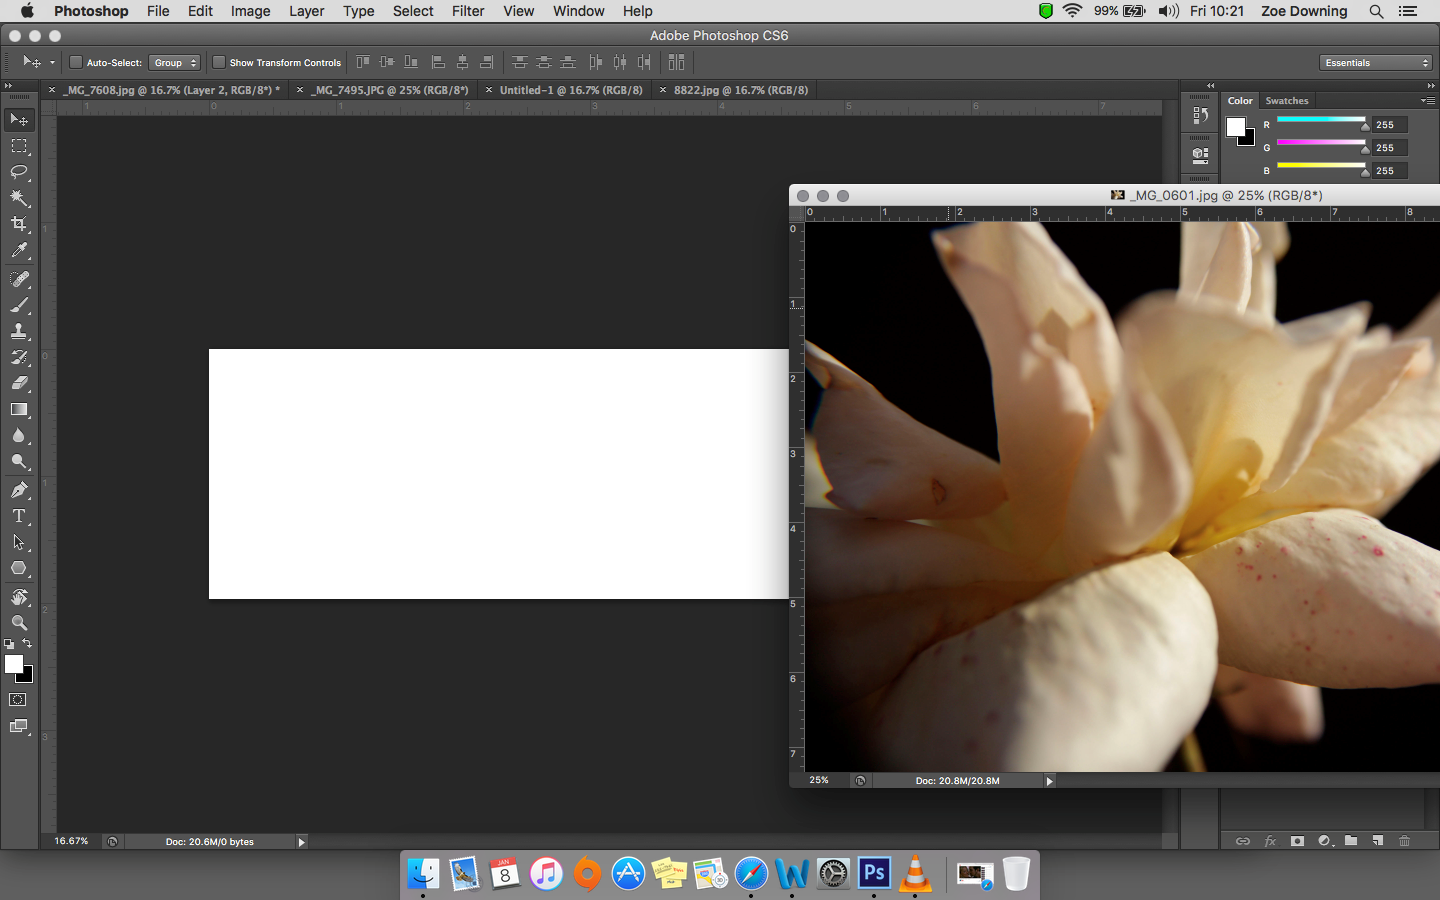
To get started, open up a blank document at the size you require and continue to open the desired images for this step.
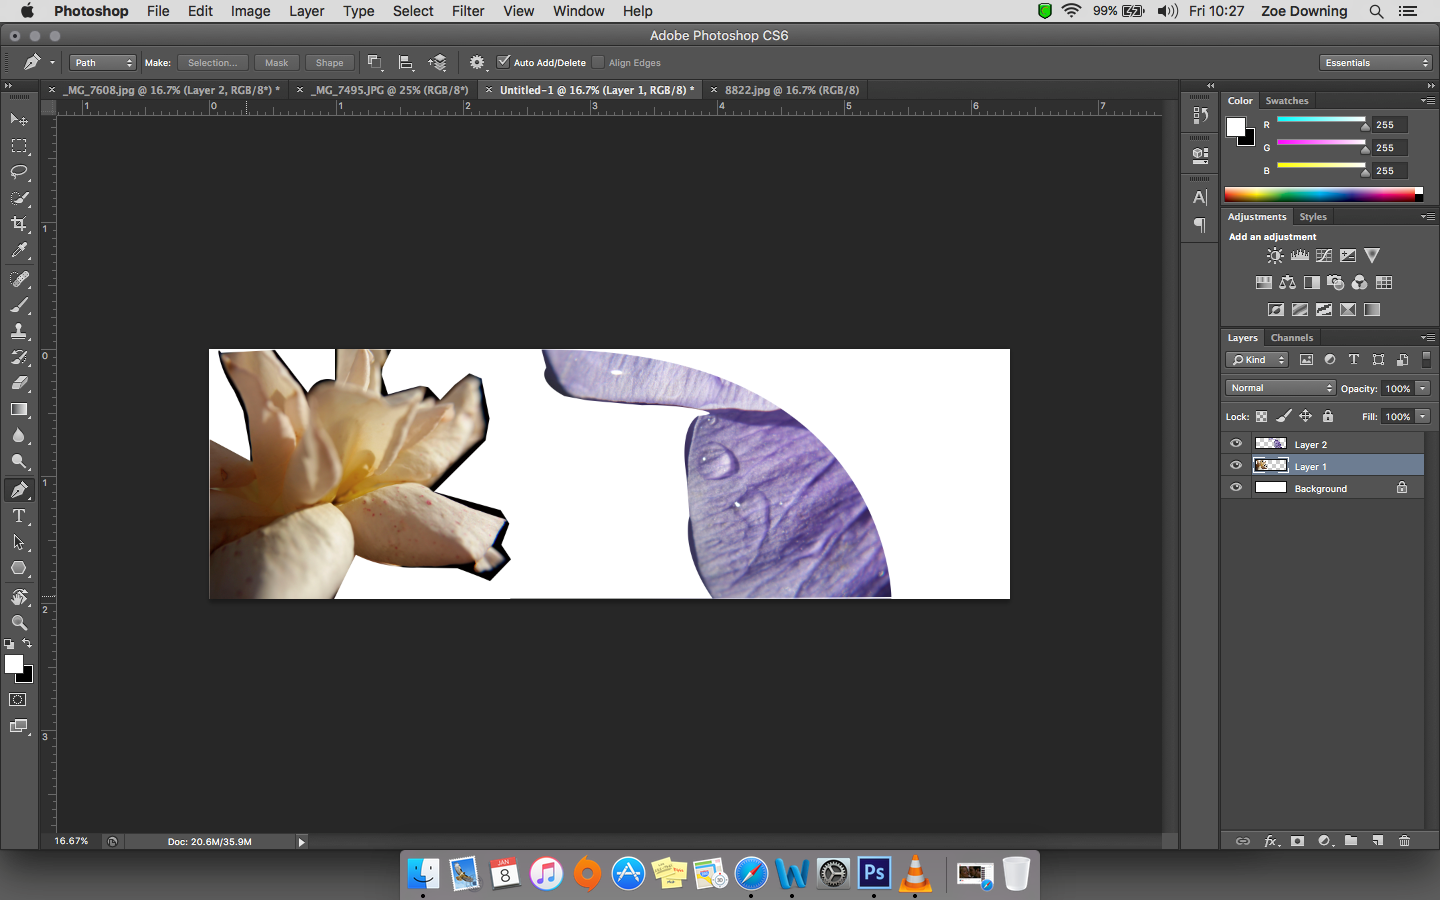
Using the pen tool and making sure Path is selected, trace outside the line of the image to separate it from its background, depending on how you want your end image to look; you can be very precise for a clean line, or a bit rough to keep the image’s original elements.
After the outline of the image is traced around, at the top of the window select the Selection… button.
The path will now appear as a dotted line to show the selection.
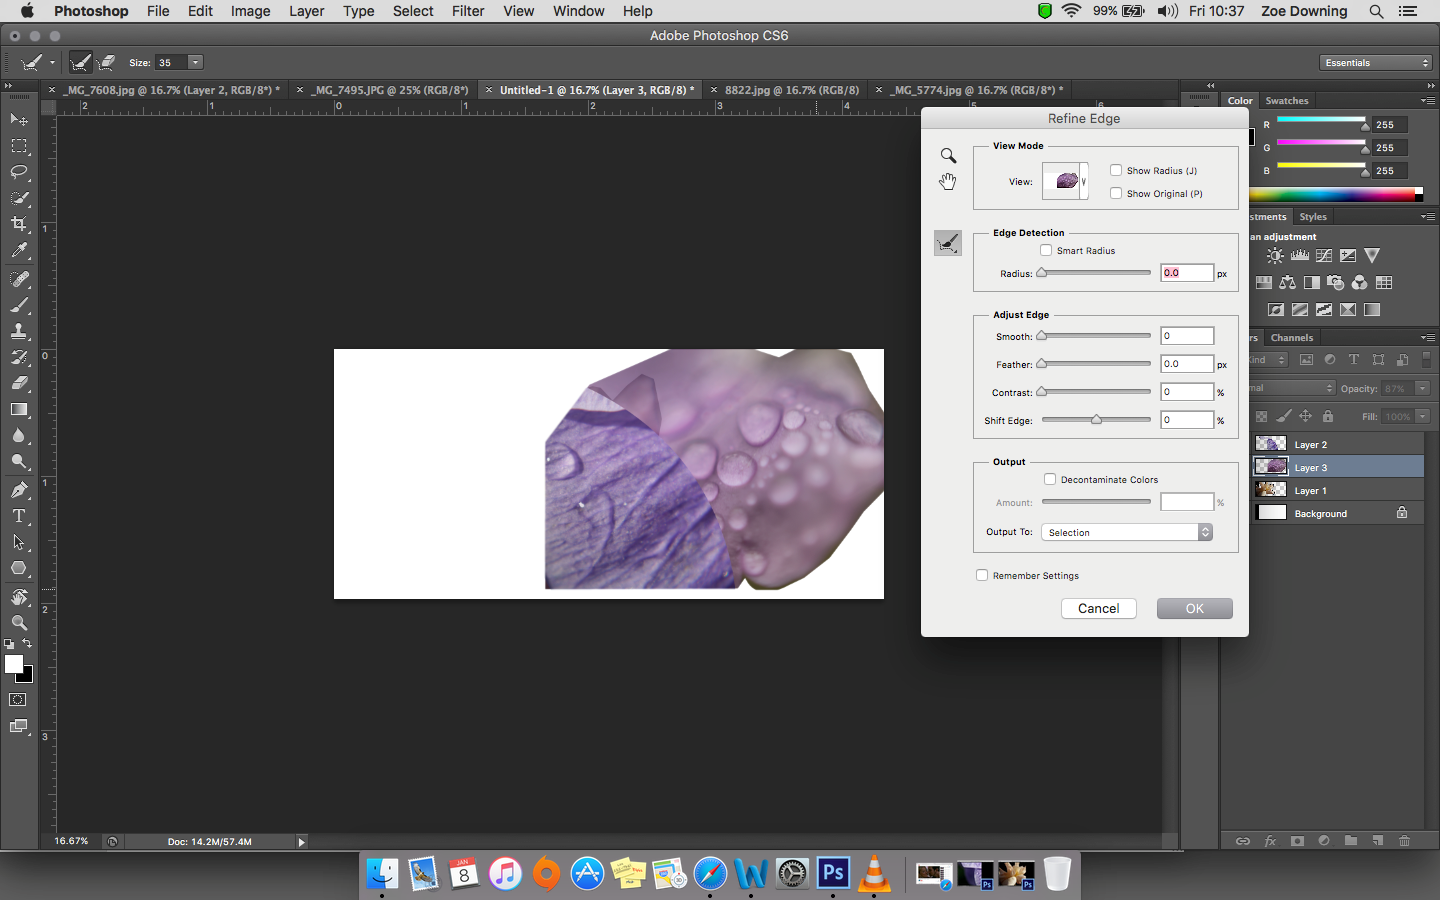
Drag the selection over to your blank document. If you want to feather the edges of the selection if it looks untidy, make sure the image is still selected and choose to Refine Edge at the top of the window (menu).
This will help to soften the edges and find the edge.
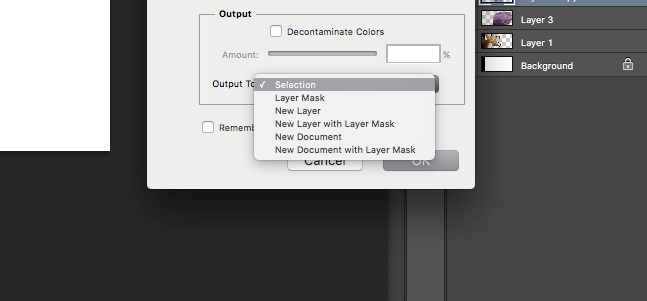
At the bottom of the refine edge window, the drop down menu lists output options, click on New Layer and select OK.
Play around with the opacity levels too; this will help them merge together with a seamless look.
Vectors and Bitmap Images
Let’s start with the difference between these two image files. A Bitmap, image otherwise known as Raster Images, are images made up of groups of pixels rather than an object or a shape. The problem with using Bitmap images is the loss of quality when enlarging the image as jagged edges can be seen and it tends to pixelate – which means that it looks blocky and blurred when enlarged.
This is because of the fixed amount of pixels and I’m sure you’ve come across this in your travels around the net.
Vector graphics are made up of lines and curves. These lines are known as paths in Photoshop and can be selected with the pen tool. Vector graphics do not lose quality and maintain sharpness. Free to use vector images can be found on such sites as Pixabay and Freepik, use these to help the creative juices flow.
Vectors are also available in HTML5 and are known as SVGs (Scalable Vector Graphics) and can be used to great effect as they are very light in terms of file size and scale to suit whatever device they are being viewed on. This is of course ideal in the current climate where we access the net on all manner of devices that come in a wide range of shapes and sizes.
Think logos and static images and how this could potentially affect the performance of your site, as the file size is low and you don’t have to serve different images to various devices depending on size.
Working with Vectors and Rasters
You’ve spent time-consuming energy trying to find that perfect image and finally you find something that is almost right, but the background is wrong and the colours are all wrong.
Don’t worry, with these simple tools, mismatched images are a thing of the past.
Open up your image that you wish to separate from the background. Using the Magnetic Lasso Tool draw around the area of the image, once you’ve closed the selection you will see the dotted lines. Click on the selection tool and drag over to the new document.
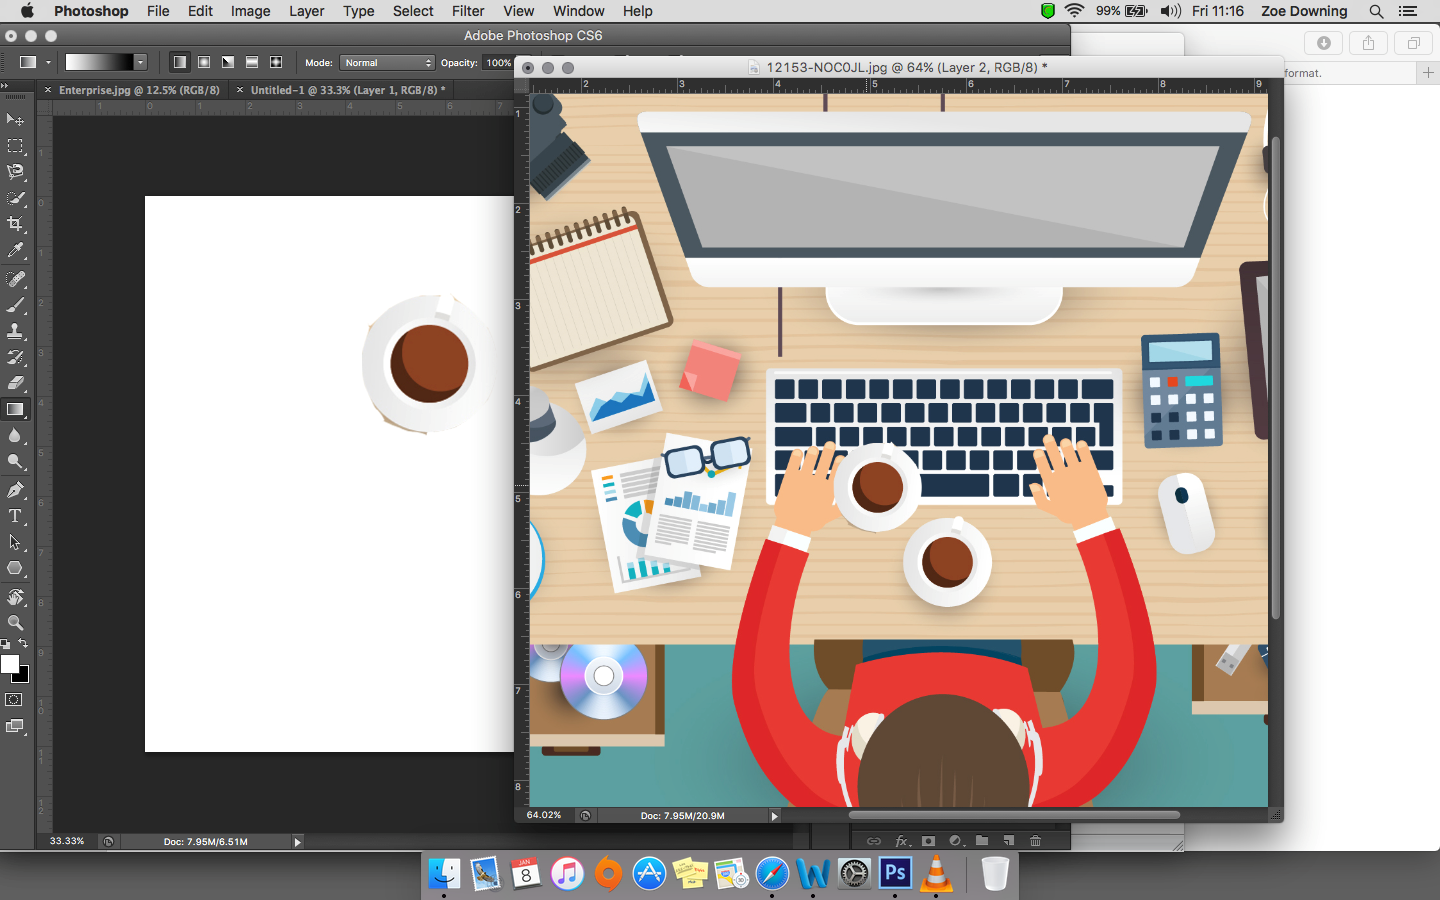
Above you can see I have separated the coffee cup from the image. If your selection is slightly messy, click on the refine edge button when the image is selected, this will help tidy up the edges.

Using the magnetic lasso tool has the desired effect when selecting images within an image; however if you are finding that the tool is not precise enough, try using the pen tool and selecting the paths.
To resize images on the document, simply press Command T for Mac users or Control T for Windows users. This creates a bounding box around the image, you can drag out the corners of the box to enlarge the image, additionally, by holding down the Shift button; this constrains the dimensions of the image to avoid stretching it.
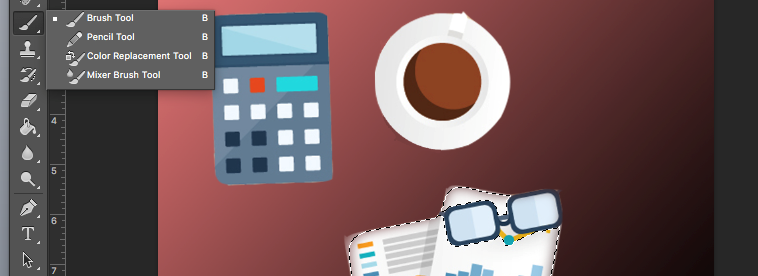
If you wish to change the colour of the image you have selected, select the colour replacement brush hidden behind the brush tool on the tools panel. Select the colour from the swatch, making sure find edges is selected, the tolerance is around 30% and the mode is on colour (you can play around with these options for different types of images.

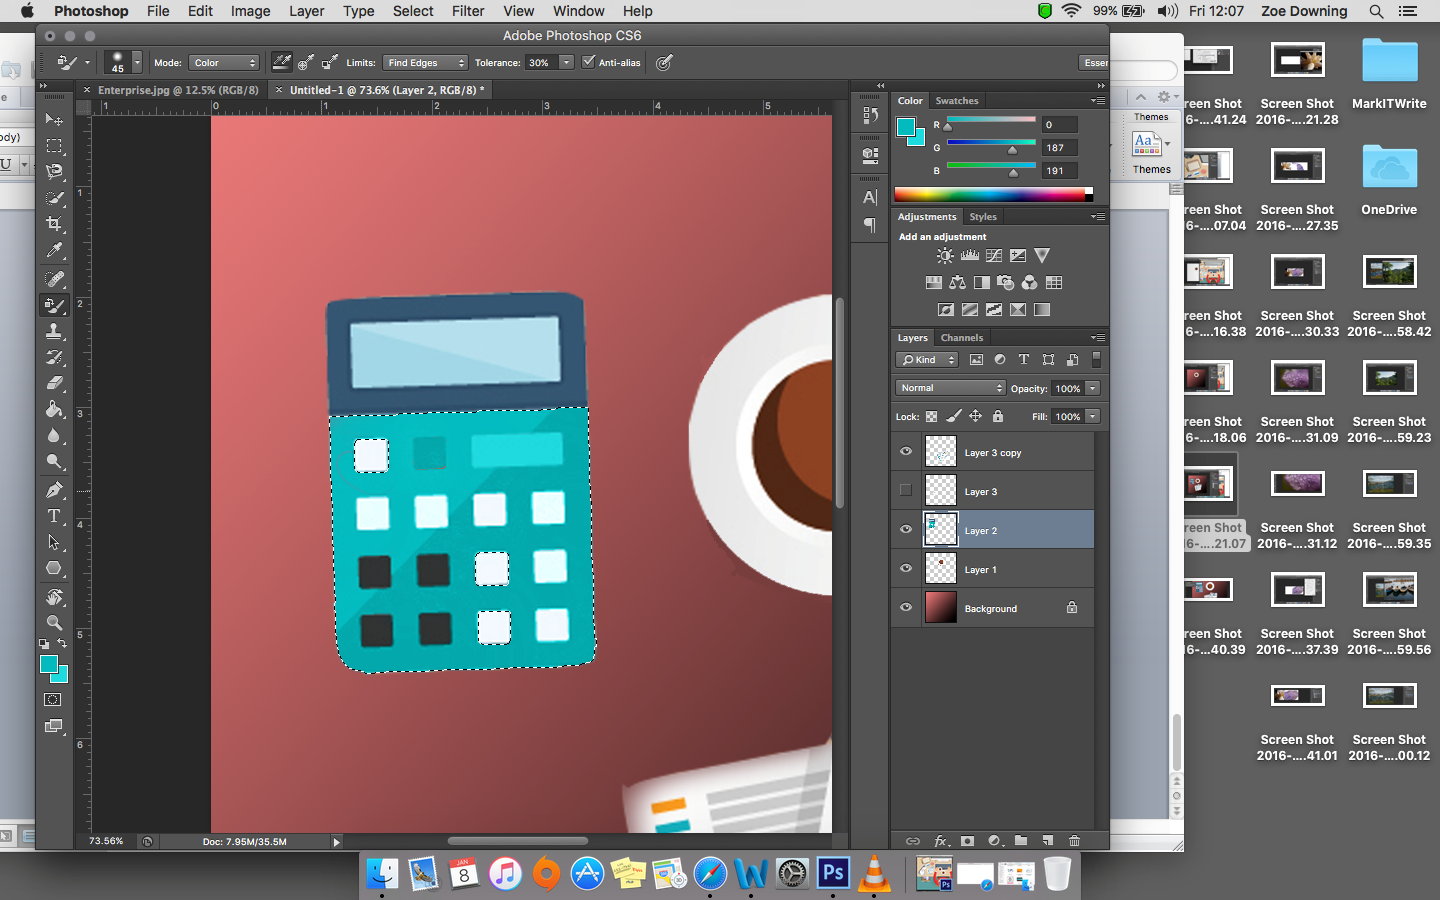
Simply brush over the desired area, using the quick selection tool to select the area you are colouring ensures that no colour leaves that selection and seeps into the background.
Shapes
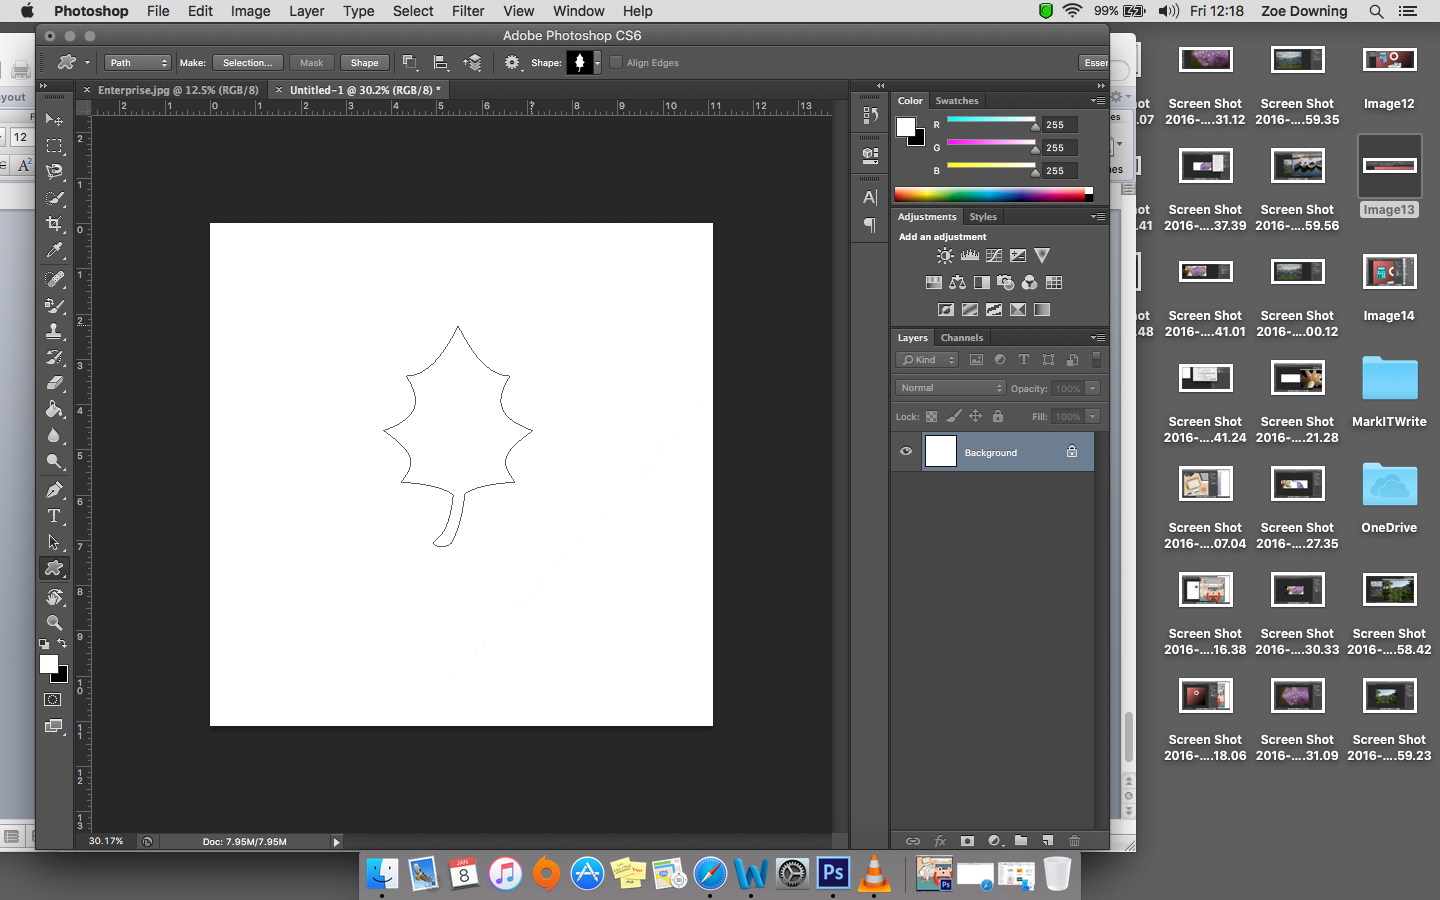
Photoshop has a Custom Shape tool hidden behind the rectangle tool containing ready to use shapes for convenience. To use, simply select the tool and at the top of the screen on the right select the down arrow on the shape toolbox.

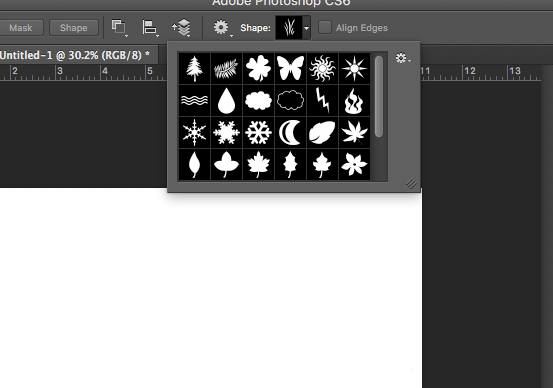

Ensure that Shape is selected from the drop down menu and begin to draw your shape.
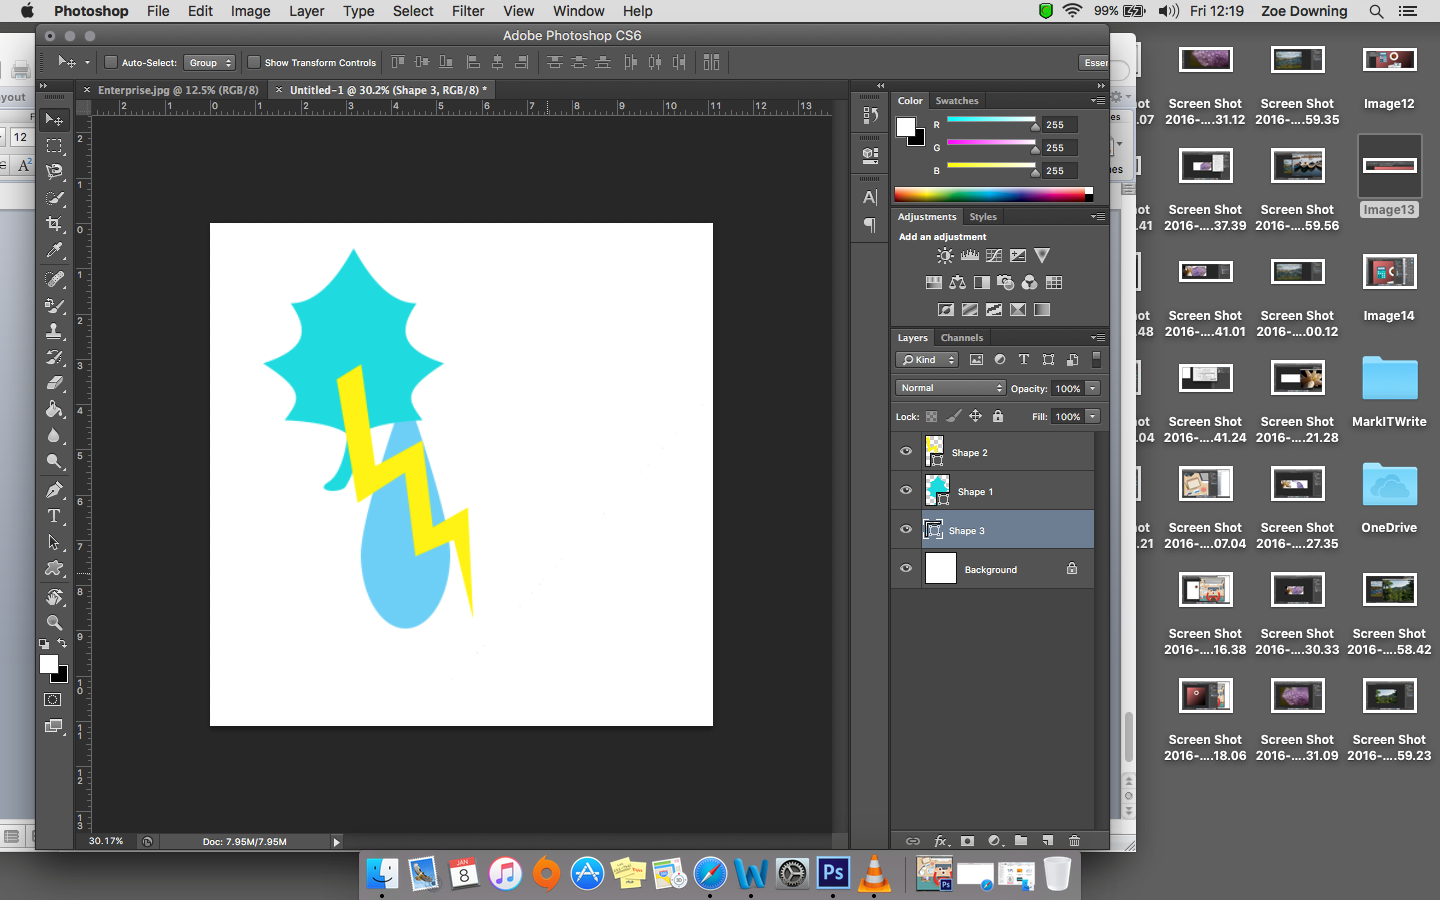
You can add more shapes to the document all in various colours using the Fill tool at the top of the window.
You can also play around with dimensions of the image such as using the Warp Tool. Simply press Command T or Control T for Windows users and right click in the bounding box, a menu will appear, select Warp.
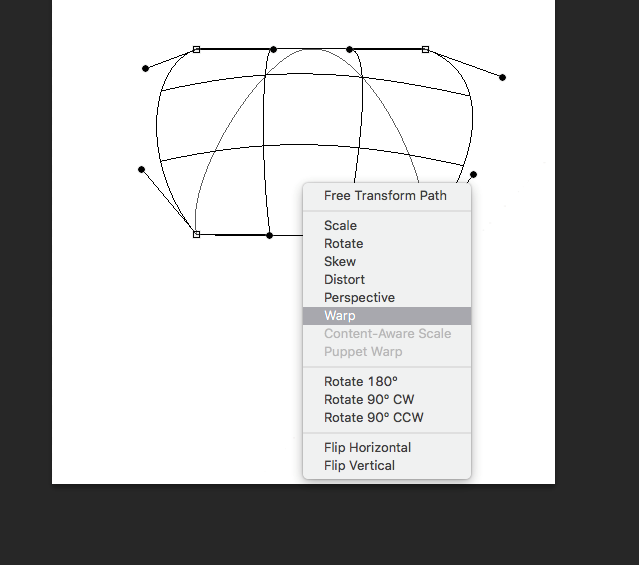
Drag the lines to start warping the shape in the direction you desire. This can create a more three-dimensional feel to the shape.
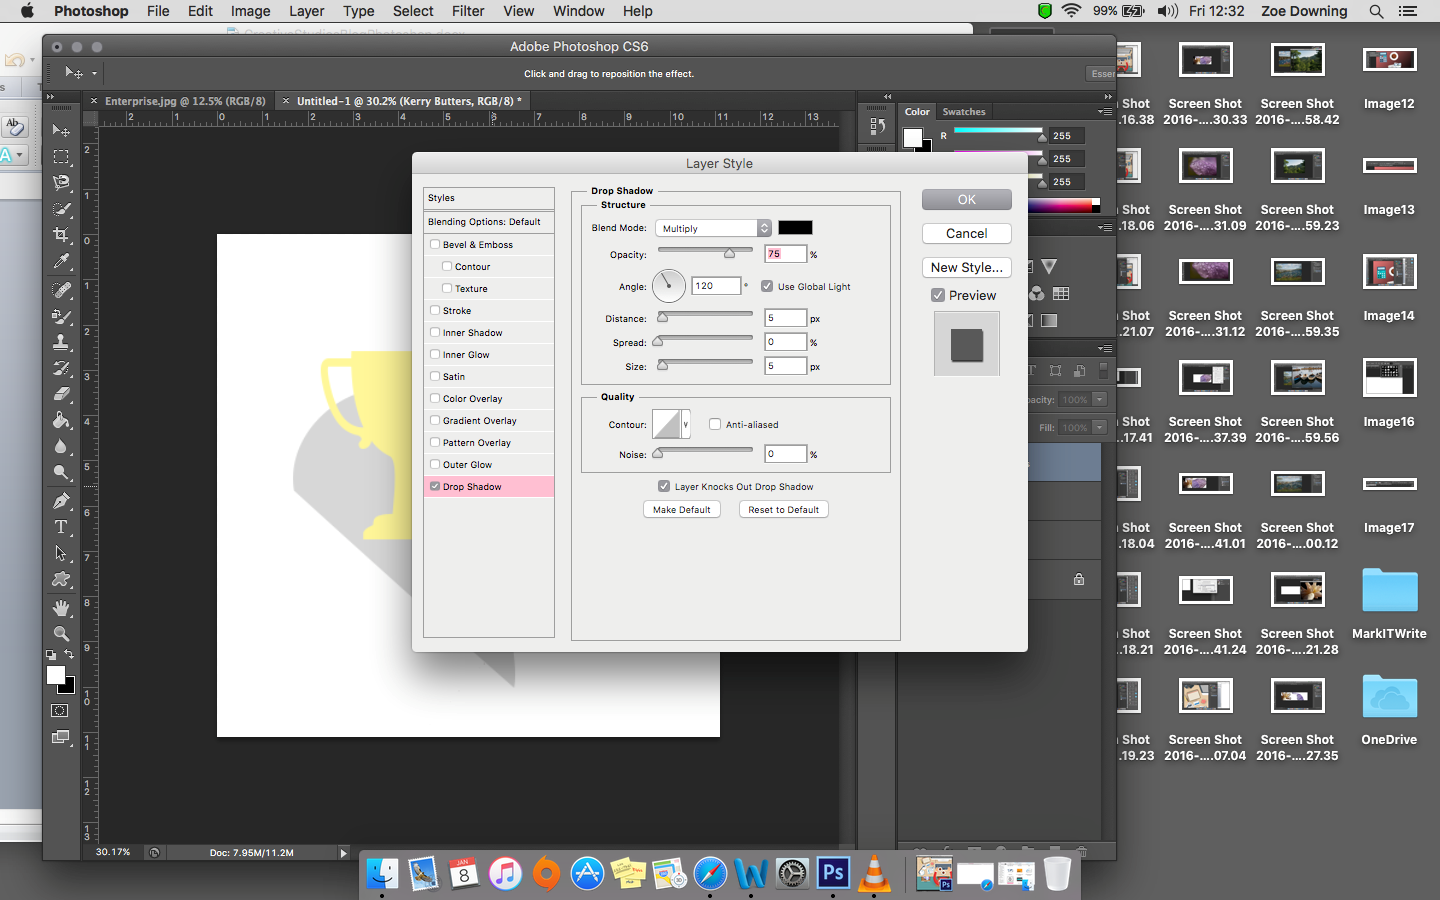
Adding Drop Shadows
Using this technique really helps your text and images to pop. Select the type tool and start typing. Next double click on the text layer, a task box will open, the last tick box is named Drop Shadow, select this option so the tick box is ticked.
Move the sliders for the desired shadow effect such as the size of the shadow and the distance from the letters, in this menu you can also choose the colour and type of shadow as well as opacity.
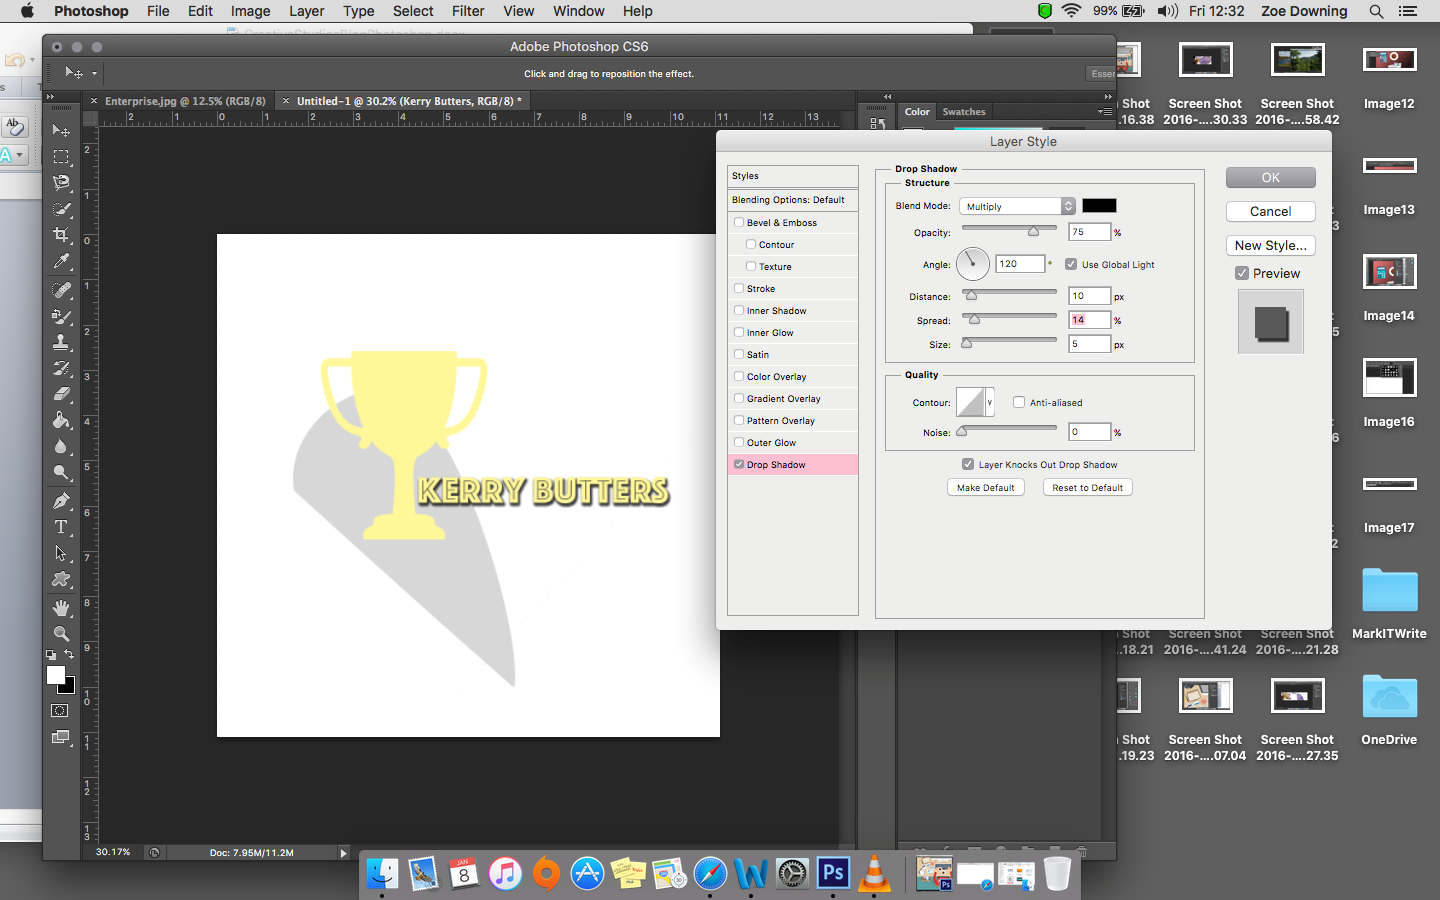
This works just the same for images too.
All these tools are great helpers for when you need to create a header image, explore the shapes and drawing with the freeform pen tool. Make sure that your colours complement each other and don’t take over the image.
You can look at some great colour palettes on Adobe Creative Cloud, which can be saved to your account. Finally, do your research. Use tried and used techniques and add your own twist, convert words to images and think outside the box and look at word definitions for inspiration.
Learning how to carry out simple tasks in Adobe Creative Cloud products can save your business a significant amount each year in design costs. Why not get in touch to see how Creative Studios Derby can help you to add to your skills bank whilst saving your business cash?
Get in touch on on ![]() 01332 986924. You can also email us directly on info@creativestudiosderby.co.uk for a friendly chat with one of our expert team.
01332 986924. You can also email us directly on info@creativestudiosderby.co.uk for a friendly chat with one of our expert team.
We cater for all skill levels, from beginner to expert and also offer online training – in other words, we have something for everyone!
One thought on “How to Create a Header Image in Photoshop”