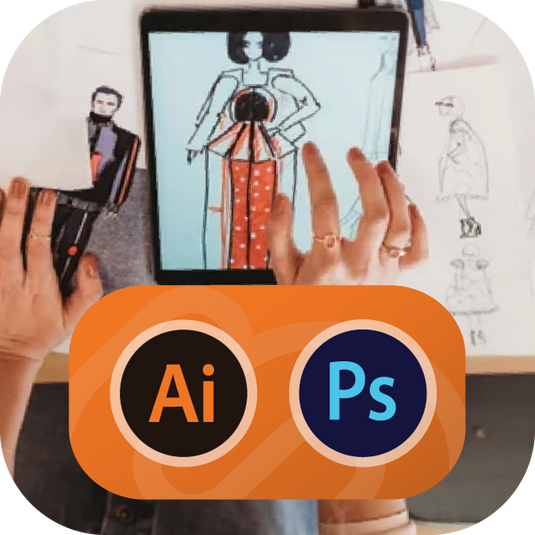
Specialist Courses for Creative Excellence
Tailored training for design, fashion, marketing, and video production.
Unlock your full creative potential with industry-led training
WHAT WE SAY


Our creative courses
Hands-On, Wherever You Are
Whether remote or in-person, our interactive training ensures you learn through practice, not just theory.
Expert-Led, Industry-Focused
Learn from experienced professionals who bring real-world expertise to every session.
Personalised Learning Experience
Our courses are tailored to suit your unique creative goals and industry needs.

InDEPENDENTLY REVIEWEd so we continue to drive success
99%
Customers consistently share excellent feedback, with nearly all rating their experience highly.
350+
With over 350 glowing reviews, Creative Studios is a trusted choice for hundreds of satisfied learners.
100%
100% of our customers would recommend us, showcasing the quality of our personalised training.
Who We work With
GET IN TOUCH
Ready to elevate your creative skills? Our Adobe experts are here to guide you every step of the way. Get in touch and let’s bring your vision to life.

Master the Adobe Suite
and Unlock Your
Creativity
Learn the core Adobe Suite
Learn the must-have design tools to boost your creative skills.


